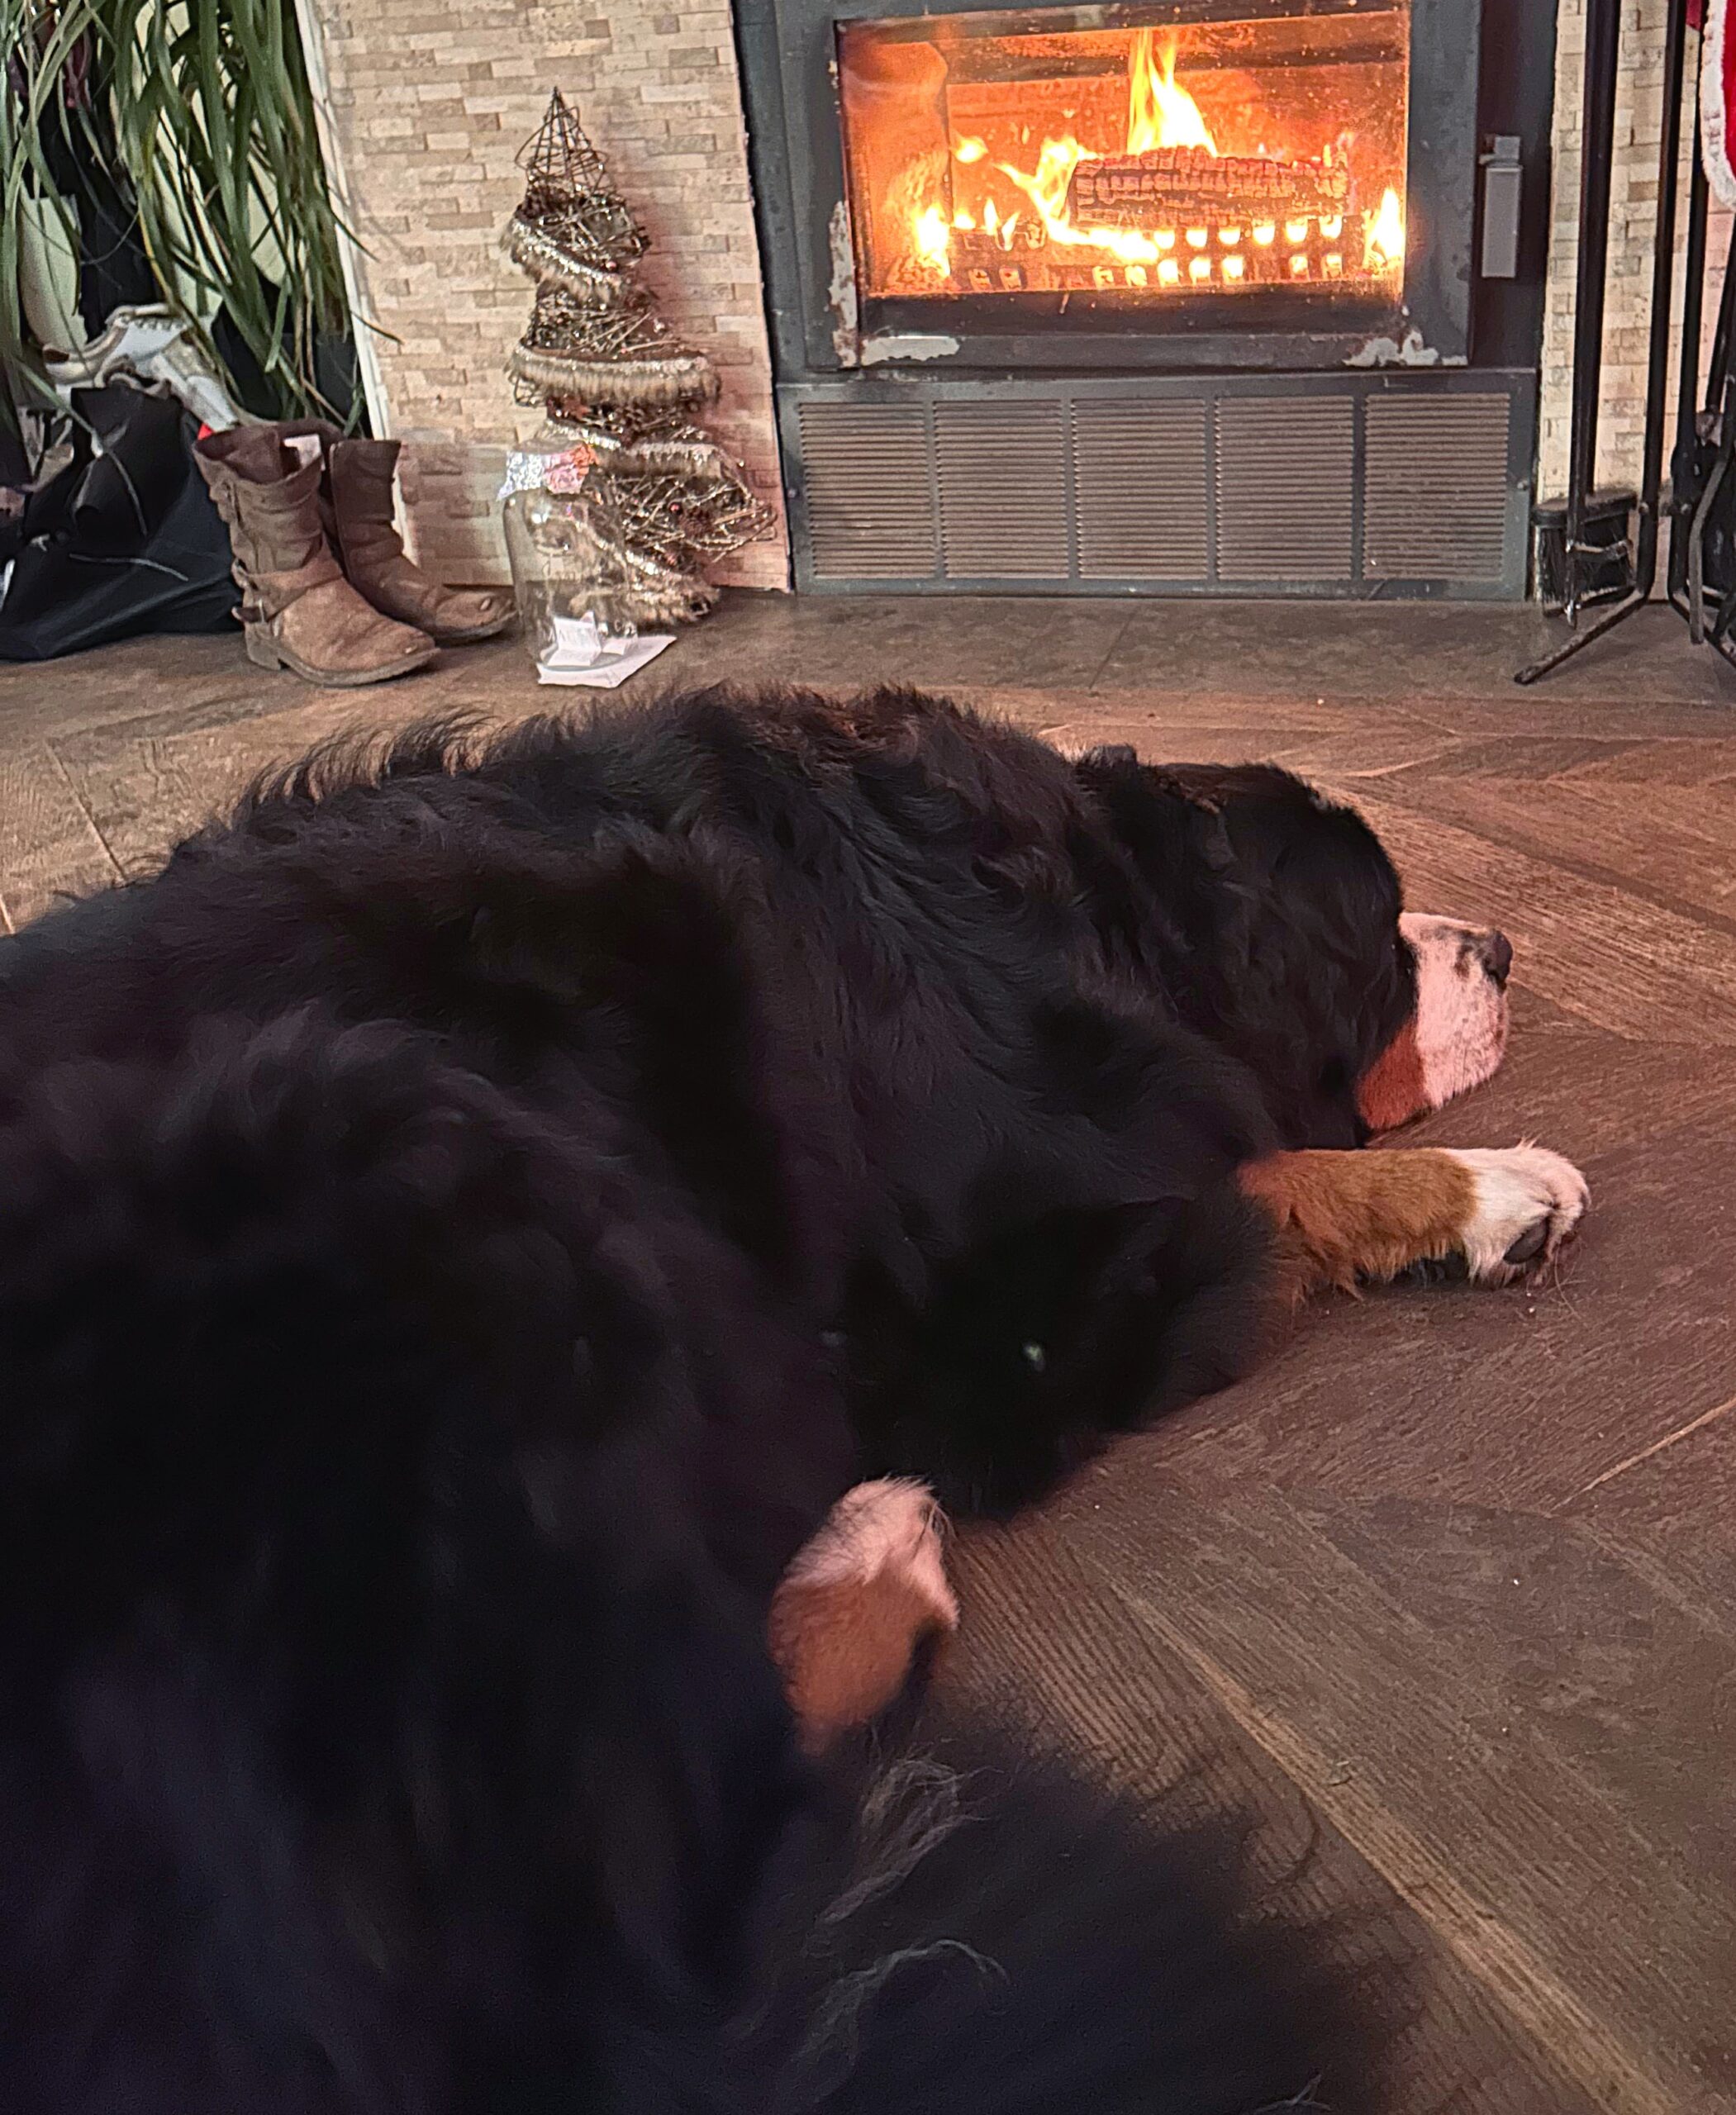
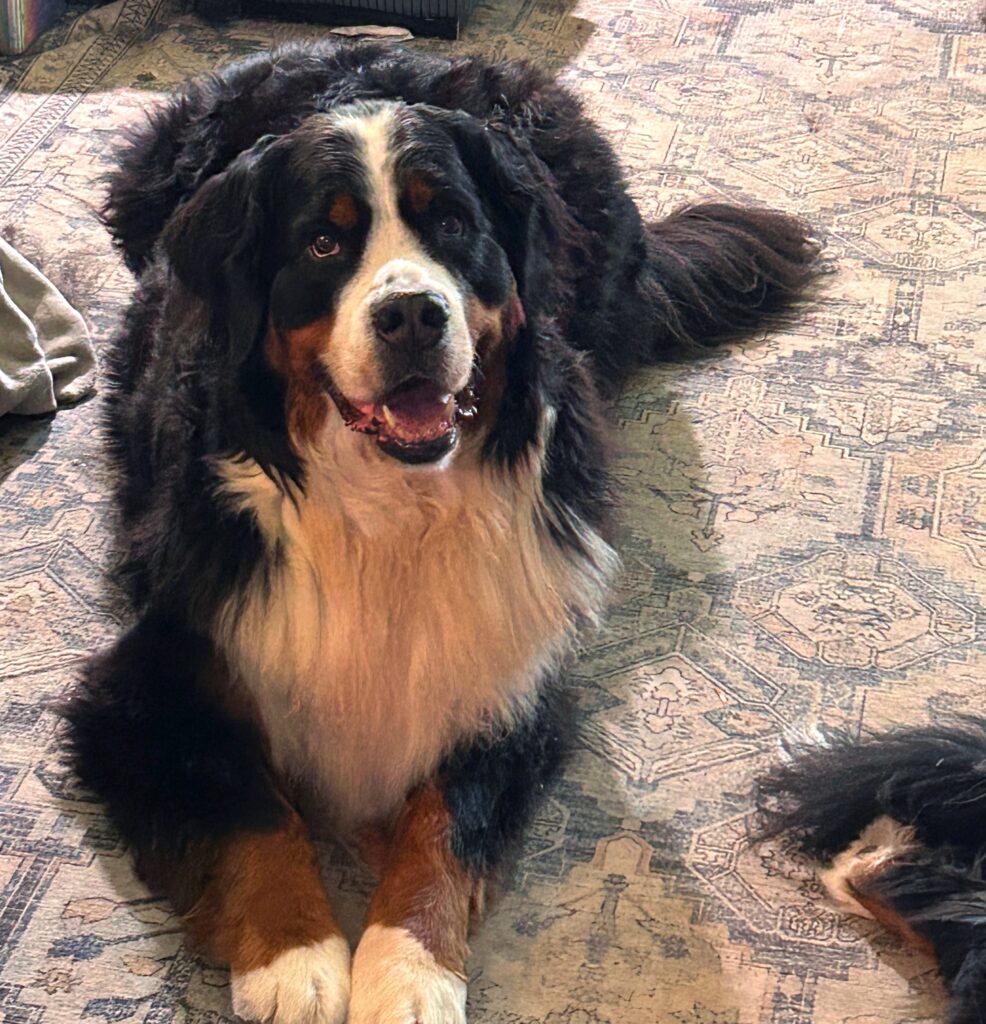
When your dog undergoes TPLO surgery, the first 48 hours at home are terrifying. You are terrified of them slipping, breaking the repair, or hurting themselves. But once you’ve survived the first couple of days, there are still many weeks of recovery. Read on to discover how to navigate the recovery period after your dog has TPLO surgery. I’m not a vet, this is our experience. This is our complete guide to TPLO surgery recovery, week by week.
This post may contain affiliate links at no additional cost to you. By making your purchases through the links on this website HIGP may make a small percentage at no direct cost to you. HIGP only promotes products we use & truly believe in. As an Amazon Associate I earn from qualifying purchases. Please refer to my Privacy and Disclosures for further information. HIGP thanks you for your support!
TPLO surgery sounds scary, and it is. Tibial Plateau Leveling Osteotomy, or TPLO, surgery is a major surgery used to stabilize a dog’s knee joint after a CCL rupture or tear. It also comes with a lengthy recovery time. Little did I know how well I would become familiar with this type of surgery and the recovery. Essentially, when the CCL tears the knee bone is not sitting level and rubs on the lower leg bone creating pain and arthritis. To restabilize it they need to cut a piece out of the lower bone and use it to re-level the knee. Until the bone heals, it is held together with a plate and screws. Here’s everything I wish someone had told me.
🐾 Free Download: The TPLO Surgery Prep Checklist
Getting ready for TPLO surgery? Grab my free 13-point checklist — everything to set up at home before the big day, from someone who’s been through it with a 140-lb Bernese.
Something Seems Off
Out walking the dogs, Benson‘s back end started giving out on him. We stopped and waited for him to get back up again. There was no other sign of pain or discomfort, for Benson it was life as usual. But I was becoming increasingly worried. We did x-rays, and they weren’t really showing any signs of a problem. We got the referral to a surgeon to be thorough. She also agreed she couldn’t see much and recommended exploratory surgery and if there was a CCL tear that wasn’t showing up she would follow through with the TPLO surgery.
The surgeon had carefully gone over the procedure, and it actually increased my anxiety instead of easing it. How was I going to lift around a 140lb dog bigger than myself? For months? Was I really up for what the recovery process entailed? Would he walk normally again or was I going to mess up his recovery?
I was an anxious wreck waiting for news. When the surgery was complete the surgeon called and gave me the update. Benson’s CCL was fraying and it was only a matter of time before it fully tore so she did the TPLO.
Preparing Before the Surgery
Preparing your home before your dog’s TPLO surgery is incredibly important as you need to restrict movement and to help them navigate around for bathroom breaks. The first thing I did was order non-slip throw rugs to put over the hardwood in the house immediately to help with traction. You can also use yoga mats or the interlocking gym floor coverings.
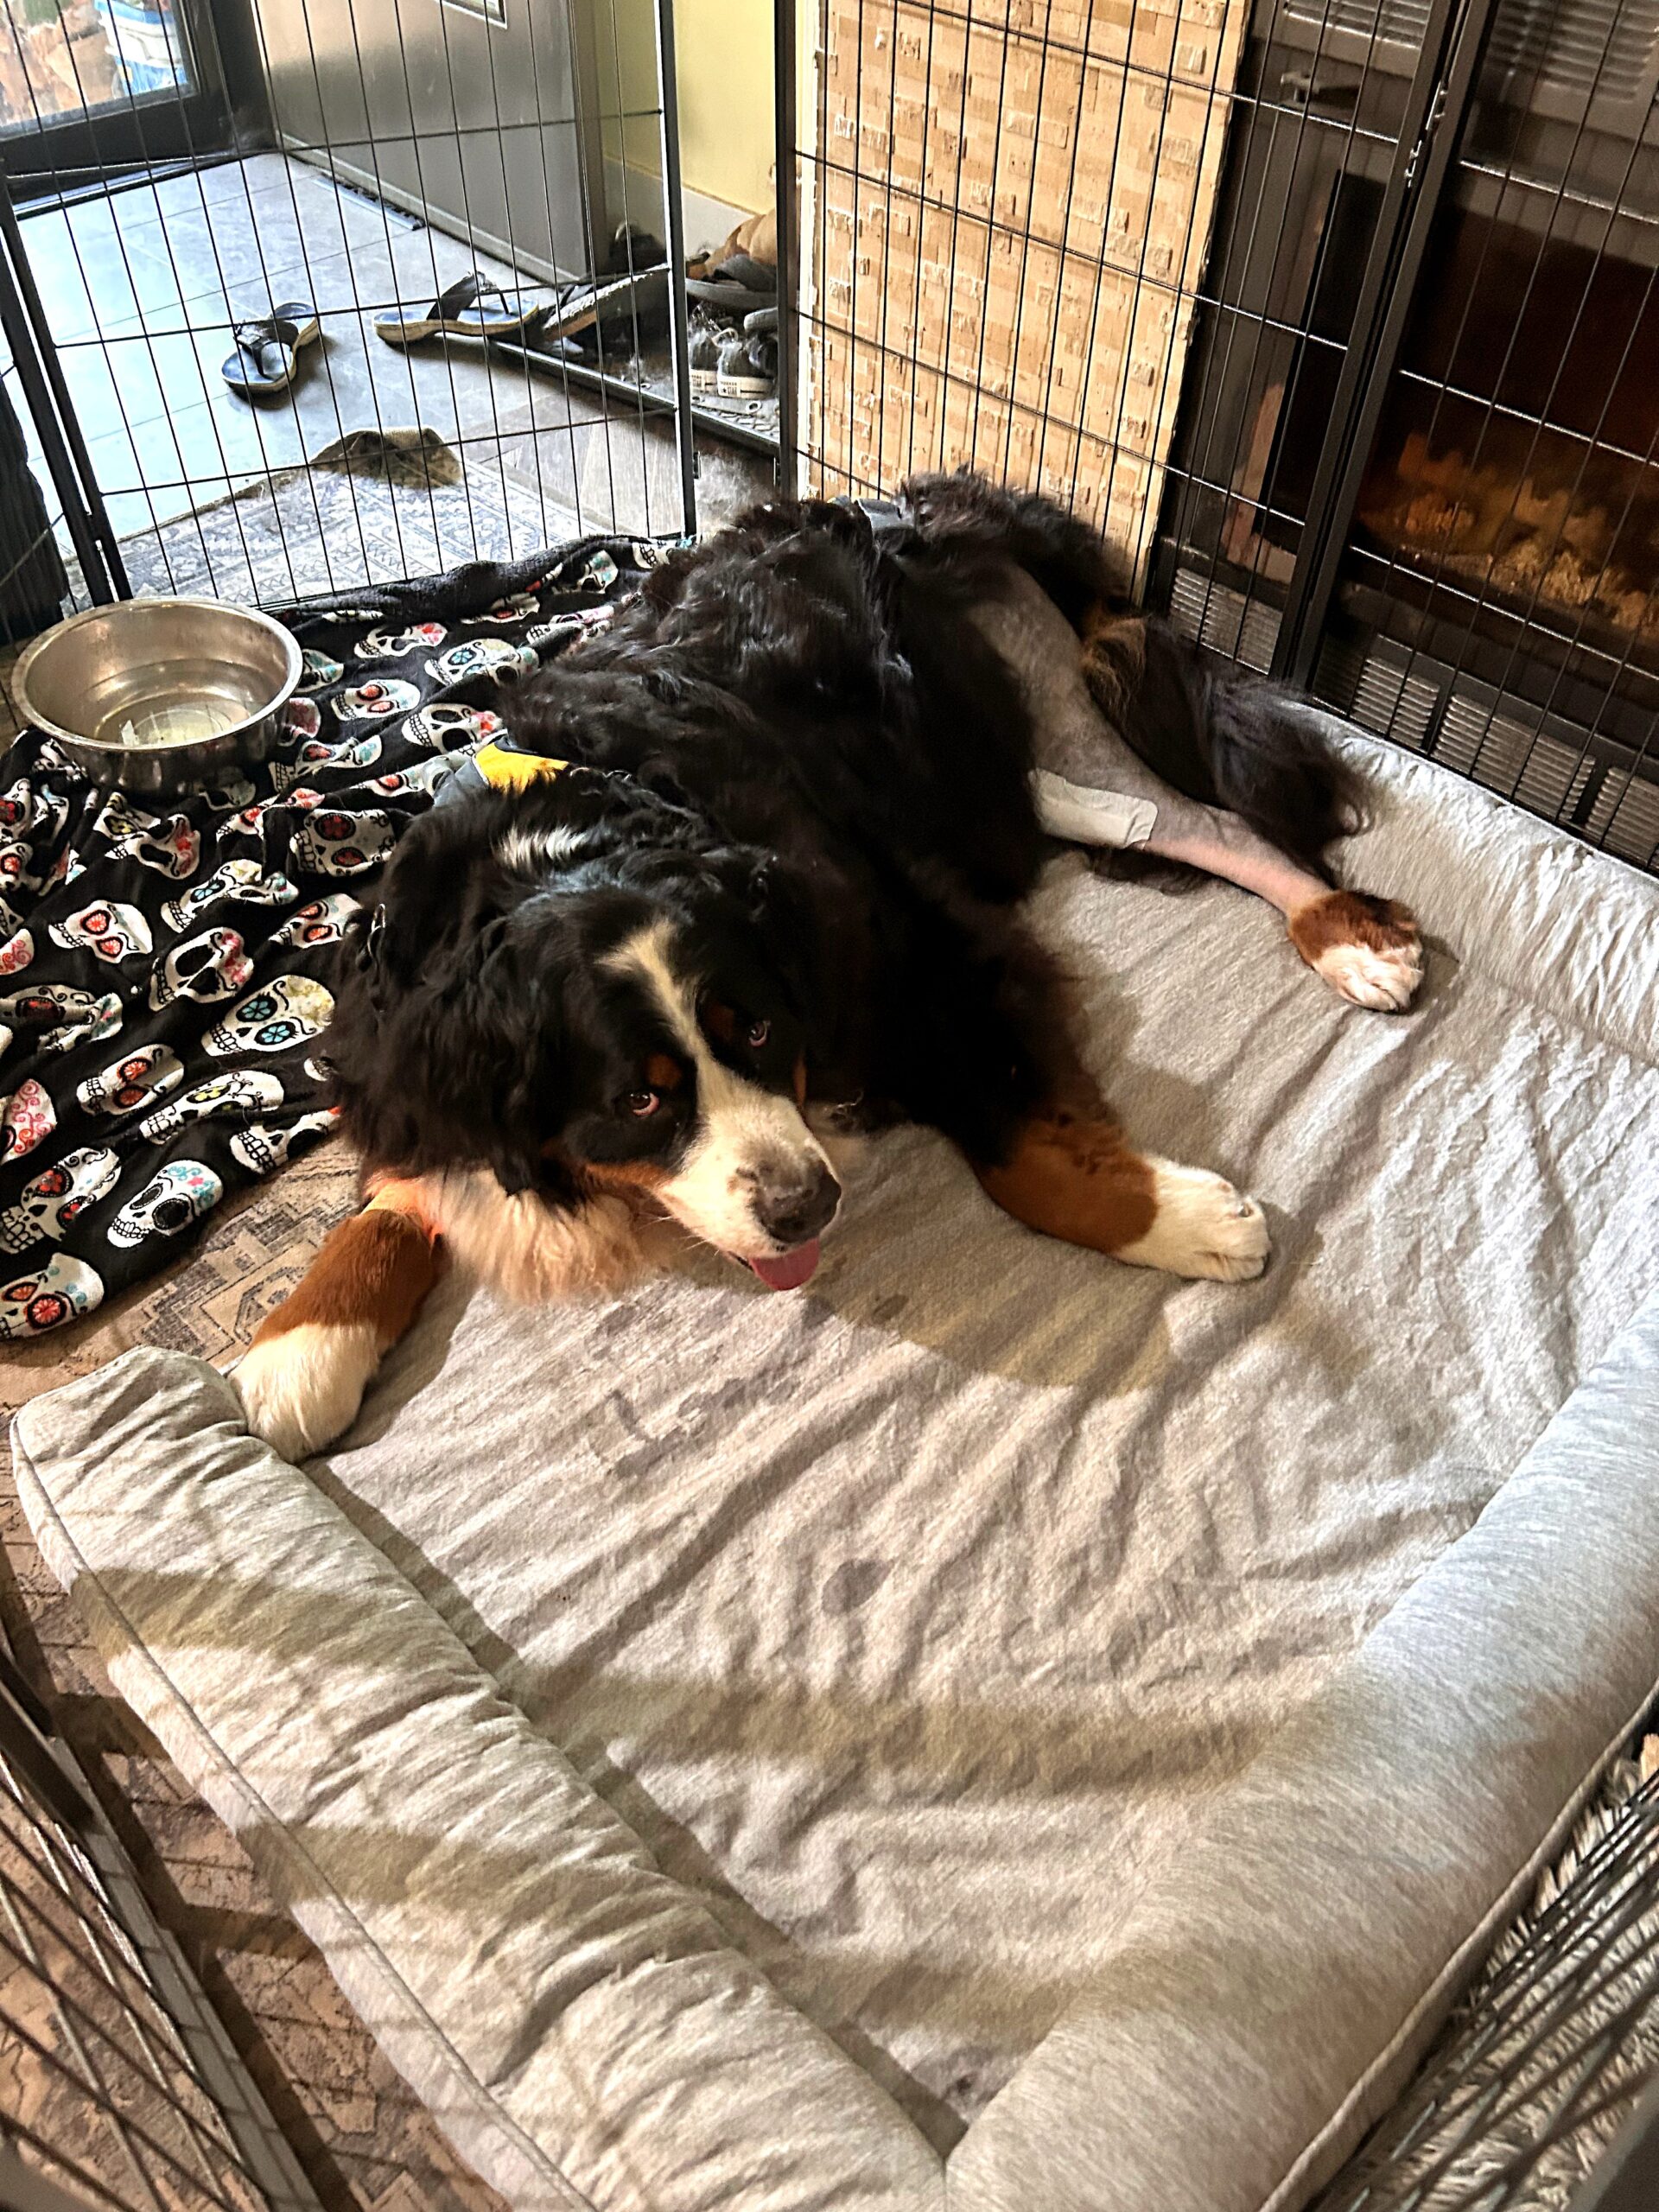
I also ordered a large orthopedic dog bed and a dog pen to keep on the main floor since stairs after the operation are a big no-no.
The pen I got was easy to set up and customize and move around. It also had a little door on it that you could open and close easily. This was far easier than a large and cumbersome crate. I set it up by the front door since it was fewer steps and easier to get him out to the front yard to go to the bathroom. Baby gates to block off stairs are also a good idea. I didn’t think Benson had it in him to even attempt them but when bedtime came he took off on me and bolted up the stairs and jumped on the bed a mere few days after surgery. Oops. Lesson learned.
Your dog will be confined for a prolonged period of time, so enrichment is key to keeping them calm. Think lick mats, puzzle toys. I swear by the Toppl — I’d stuff it with frozen peanut butter and it kept Benson busy for ages. We also rotated in his KONG Classic and an Ameami snuffle mat, which was perfect for scattering kibble on the days he barely wanted to move.
Harnesses and slings. You will need to help your pet move around for a long time. Get in and out of the car. Navigate stairs if necessary. We got a Help ‘Em Up Harness which was a true life saver when it came to lifting up my 140-lb dog. They have two handles – one on the back and one at the rear. I also had a sling for him but found the harness was much better to use.
You may also want to look into a ramp to help with stairs. Also helpful for getting in and out of the car or bed. I got one, but much to my chagrin my big boy was scared of it. Add that to the list of things he’s scared of. When trying to train him to use it before surgery, he looked at it in terror. Meanwhile, Sassy and Beau were running up and down it like nobody’s business (for the treats of course).
One thing I didn’t think of ahead of time was reusable cold packs for reducing swelling. But I ran out and got these almost immediately once Benson was home.
Also, sign up for rehabilitation as soon as you find out your dog needs a TPLO. They are often quite busy and may have waitlists. Benson’s rehabilitation at one of these centers was a big part of his recovery. Work with them for recommended doses of Omegas. And be sure to get your surgeon’s approval before starting.
Post Surgery – The First 24-48 Hours
The first 24-48 hours after TPLO surgery are no picnic. And it starts right from the moment you go to pick your dog up. Pain control, restriction of movement and incision care are crucial for the first couple of days post op. Follow your surgeon’s instructions, it’s crucial. They may instruct you to ice the wound at regular intervals to reduce swelling. And send you home with exercises to do to prevent muscle loss.
Your dog may still be feeling the effects of anesthesia and groggy or disoriented. Whining and pacing are also normal as the anesthesia leaves their system. They may also not have as much of an appetite. If your dog is continuously crying, panting after getting pain medication or not able to settle, call your surgeon.
Keeping your dog strictly contained is an absolute must. No jumping onto furniture, no running and definitely no stairs. As I have stairs to the yard at my house, I used the harness to lift Benson’s entire backside up to go up and down to the yard for his bathroom breaks. Oh yes, even bathroom breaks must be on a leash.
And no matter what you think, use the cone! You don’t want an infection at the incision site after all you are already dealing with. Inspect the incision site regularly for warning signs to call the vet, including continuous bleeding, redness or a foul smelling discharge. Also call immediately if the site opens up or if there is gaping. There will often be bruising and swelling around the incision site. Slight clear or pinkish weeping is normal.
Other signs to call your surgeon or emergency vet immediately are continuous vomiting or not drinking water for more than 24 hours.
Picking Up Benson
Picking Benson up the next day was no easy feat. He was trying to touch his foot down though. Apparently an improvement over the previous day. Heartbreaking to see him like that.
I had slings since I knew he wouldn’t be able to walk, and I opted to purchase the Help ’Em Up harness from the emergency vet which was a life saver. They already had him fitted into the harness when they brought him outside or I don’t know how we would have gotten him in the car.
The vet tech and I somehow managed to pick my 140-lb boy up and lift him onto the back seat. As I mentioned, without the Help ‘Em Up Harness it probably would have been impossible. And seeing as how that dog weighed more than me it was quite the challenge. My daughter sat in the back seat with him to keep him stable and on the seat. I drove like an 80 year old grandma all the way home, slow and avoiding what bumps I could.
One other thing worth noting here that I wasn’t expecting. He stank. Like I mean bad, we had to roll down the windows of the car to try to disperse the smell! It was coming from his mouth – Benson had anesthesia breath which gradually faded.
Getting From the Car Into the House
I was so focused on the moment that I hadn’t planned out how to get him out of the car and into the house once he was home. I don’t have a driveway, my yard is raised from the street and there are more stairs to get him into the house. But with a lot of sweat and effort somehow I managed (thank you harness).
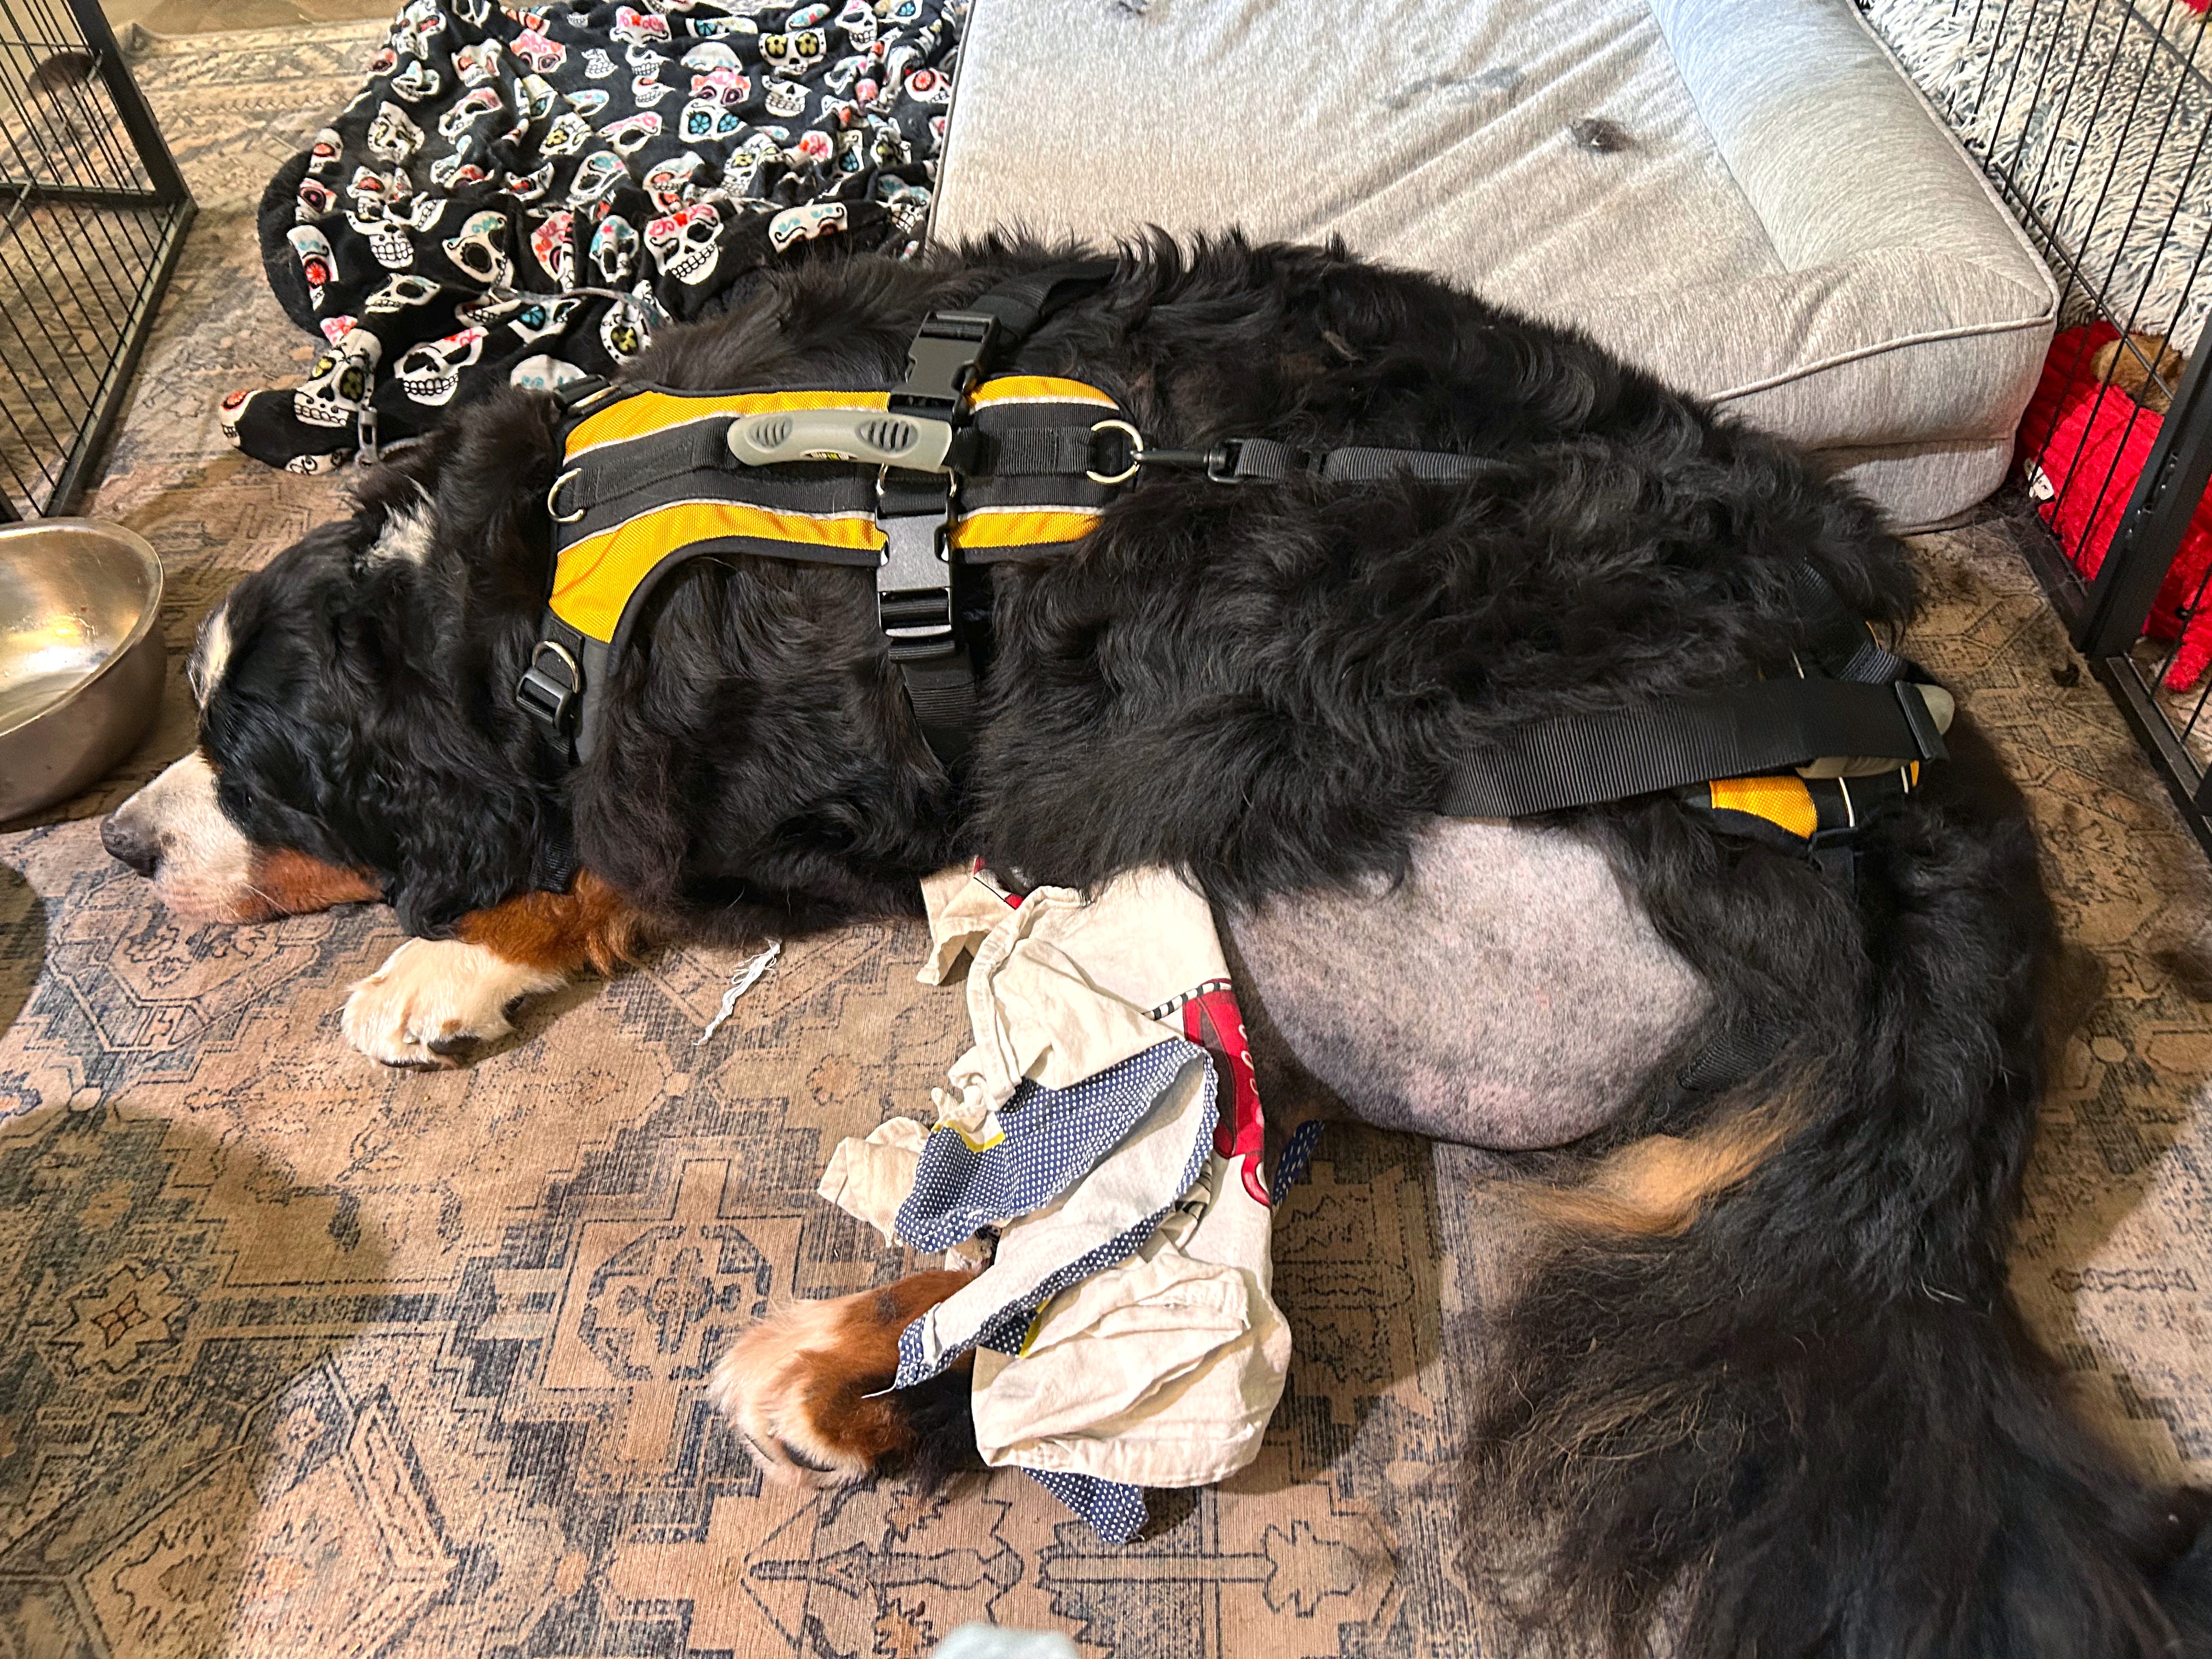
Once inside he settled very quickly in his pen and new dog bed and went to sleep. And the real recovery began.
Week 1
You need to restrict your dog’s movement completely the first week after a TPLO as they recover from surgery. The only thing allowed is leashed bathroom breaks. I set up Benson’s pen in the living room by the front door. Since he was pretty helpless I also opted to sleep on the couch next to his pen, and moved my workstation downstairs from the office to be beside him. He was the dog who slept with me, and I couldn’t bear to leave him downstairs alone.
Pain management is crucial as your dog recovers from surgery. Closely follow the medication schedule. At the top and bottom of this post you will find a recovery checklist as well as a medication schedule you can use. We were also given an anti-inflammatory, Metacam.
Increased swelling which moves down towards the ankle is also normal. Use your ice packs! Gentle massage also helps to reduce swelling.
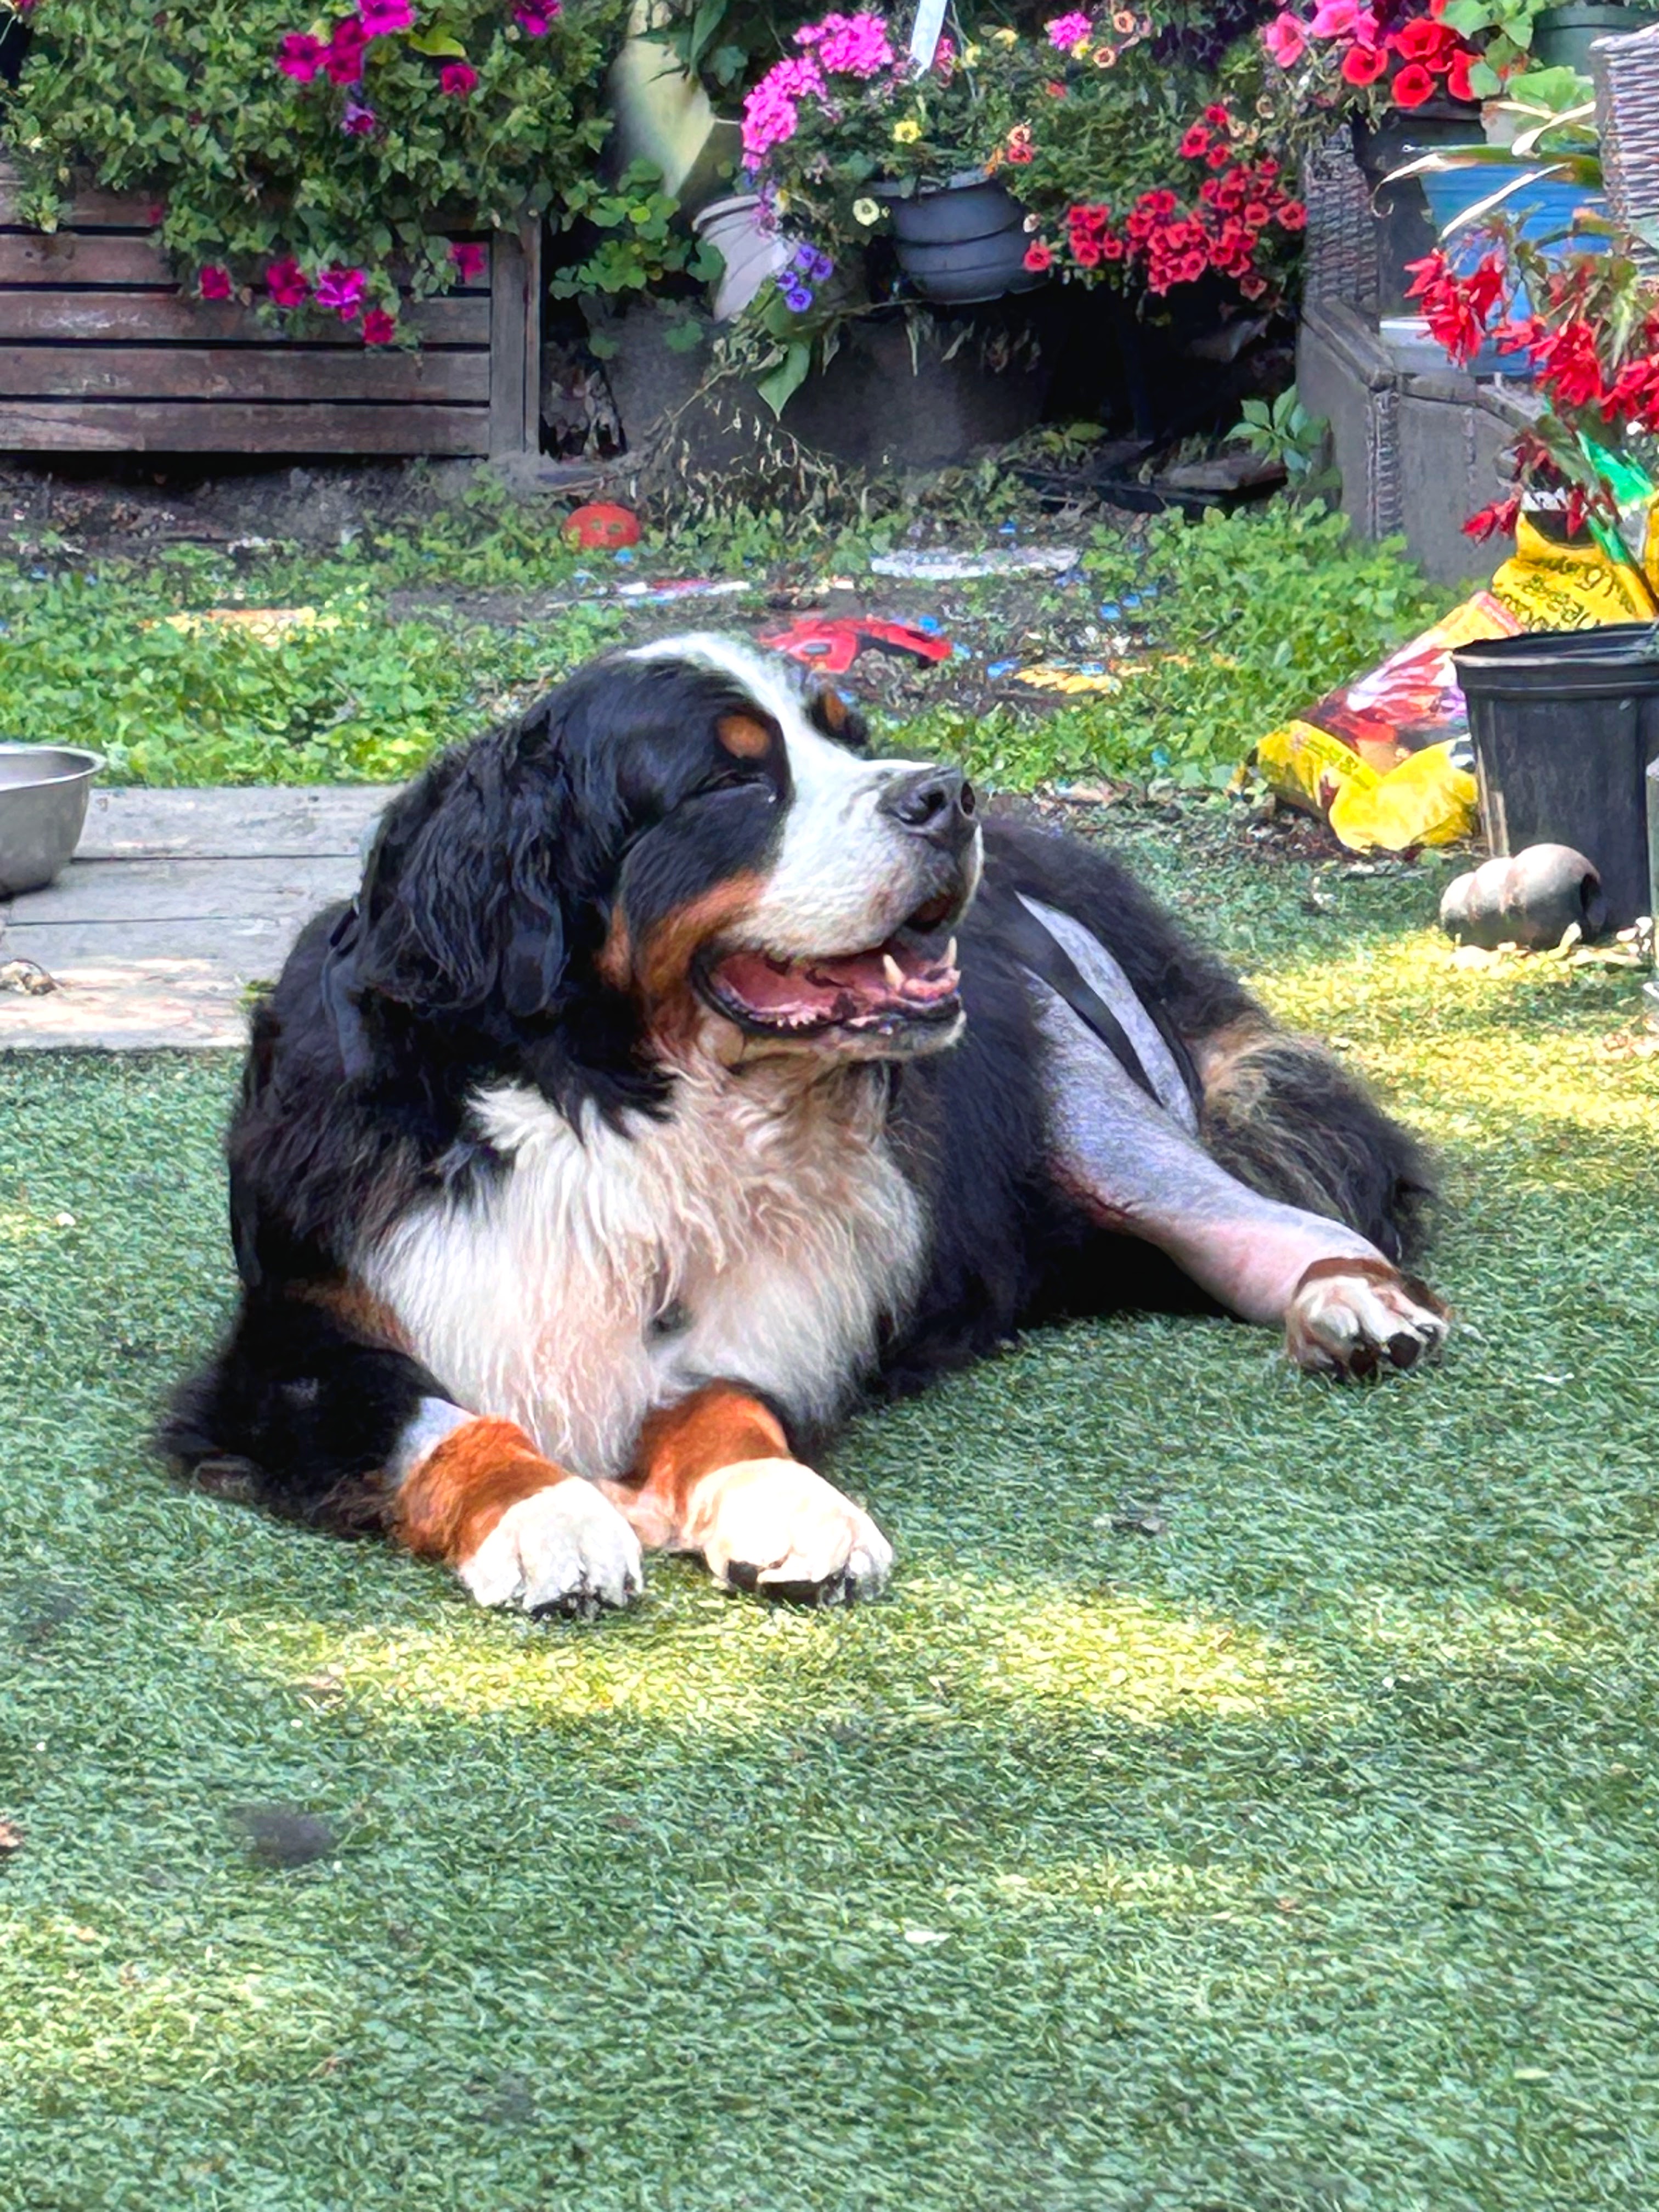
For the first couple of days, Benson couldn’t stand up on his own. I kept his harness on around the clock and used it for both getting him up and down the steps to the backyard. By the end of the first couple of days he was putting some weight on his leg, but it’s also normal if they don’t use it at all.
Use the cone. I felt so bad for Benson after he came home I thought, if I’m going to be with him 24-7 I can keep him from licking his stitches. Wrong. During the day when I could closely watch him I did opt for the inflatable donut for a bit of relief and comfort. Honestly, the Loflaze inflatable donut collar was such a kindness during the day — way comfier than the hard plastic cone, and he could actually nap in it.
Week 2
Week 2 after a TPLO is continued recovery from the surgery. Your dog will still need to be strictly contained.
Benson also had an adverse reaction to his Metacam in week 2 of his recovery. He ended up having blood in his stool, and I called my vet immediately. I was to take him off the medication as he now needed a two-week window before trying something new.
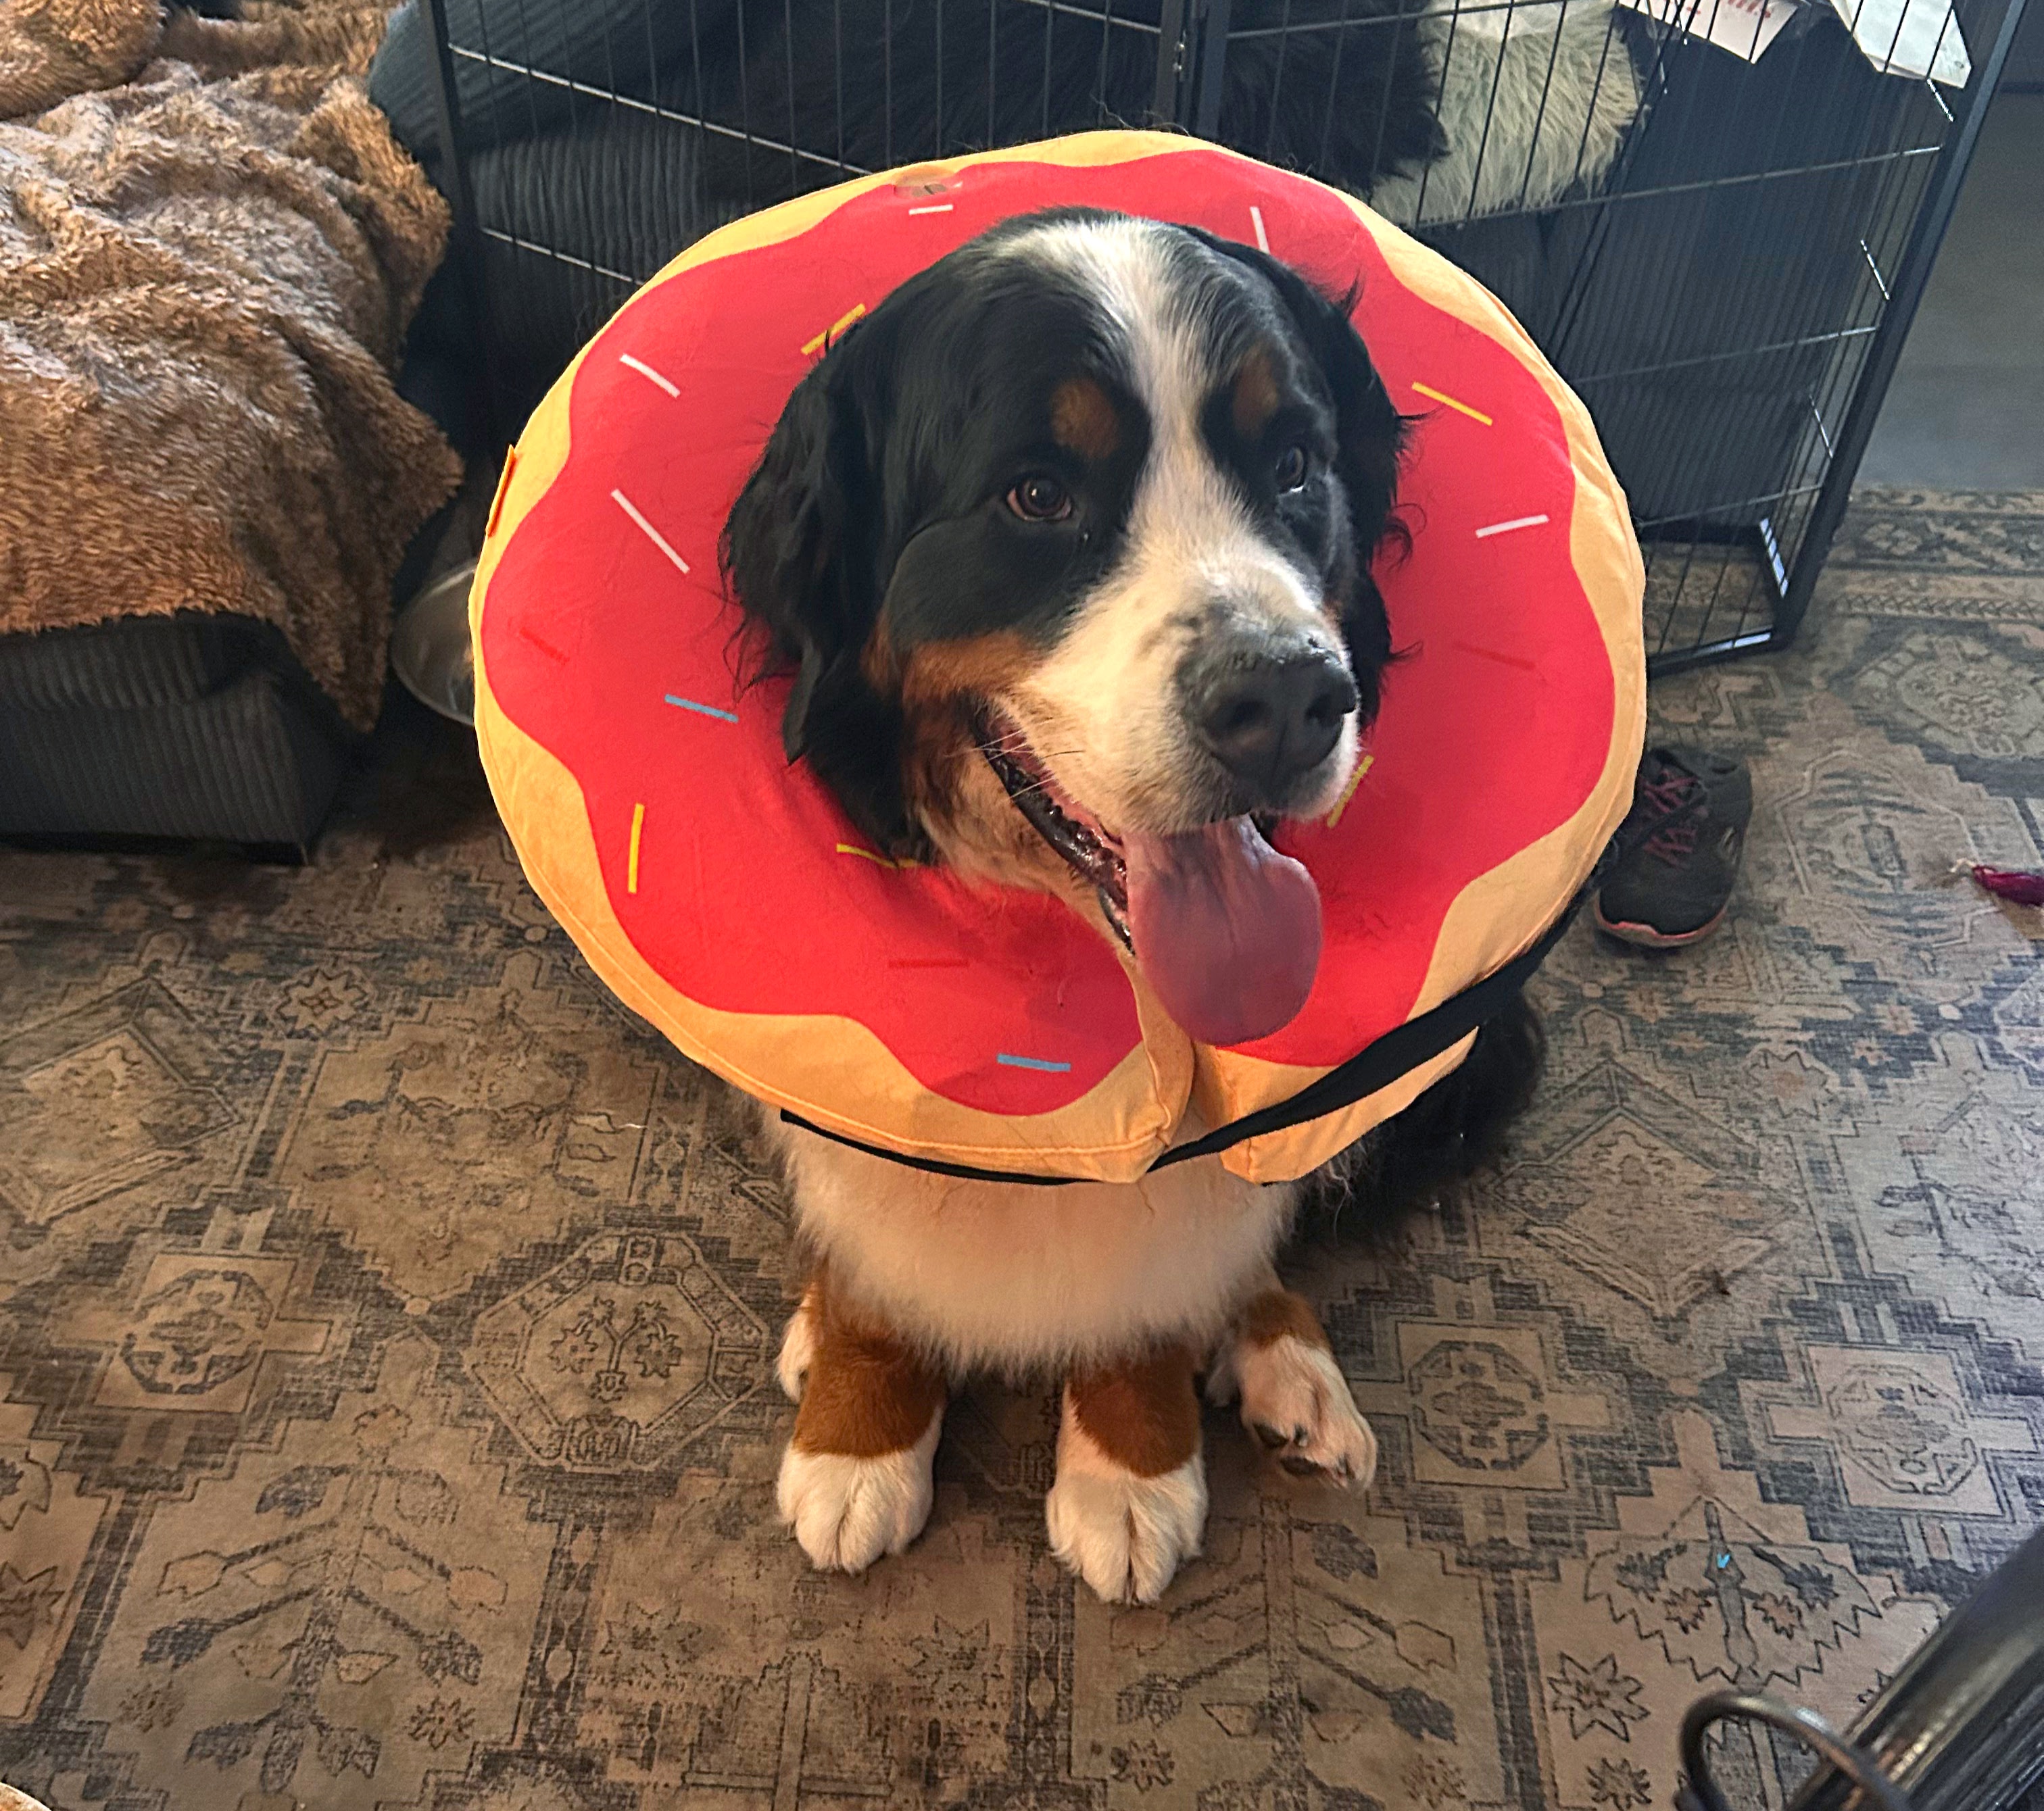
Your surgeon will schedule a two-week checkup to check the incision site and see if stitches or staples can be removed. My surgeon also evaluated Benson’s gait and I was disheartened when she told me he wasn’t walking as well as she would have expected at this point. But it could have been attributed to him having to go off the Metacam so we were monitoring it. We were told to continue strict confinement for the next two weeks before our next appointment.
He also had some redness around his incision, as a result of me thinking I could keep Benson from licking it by being around him constantly. As my surgeon said, it only takes one lick to introduce bacteria. USE THE CONE! But because he was still limping quite badly she scheduled another checkup at week 3.
Weeks 3-4
By week 3 after a TPLO, your dog may be starting to feel much more like their old selves! But this is where the trouble comes in. They are still limping but feeling much better and ready to go after two weeks of confinement.
But you don’t want your dog to injure themselves as the bone is still far from being fully healed. Physical exercise is still restricted, and if your dog is bored or frustrated this is where the mental stimulation comes in. Use those lick mats and puzzle toys. Get your dog a chew toy.
You may be advised to leash walk your dog for 5-15 minutes up to twice a day. It’s not much but it’s something. Poor Benson though, he was still in confinement at this stage. But again, I am not a vet and strict adherence to your surgeon’s instructions is imperative to recovery.
But in week 3 we were able to start Benson’s rehabilitation. His stitches had almost fully healed! His rehabilitation included heat therapy, massage, laser treatment and TENS as well as hydrotherapy. All in a strictly controlled environment and under supervision. We started going twice a week and were also given exercises to do at home.
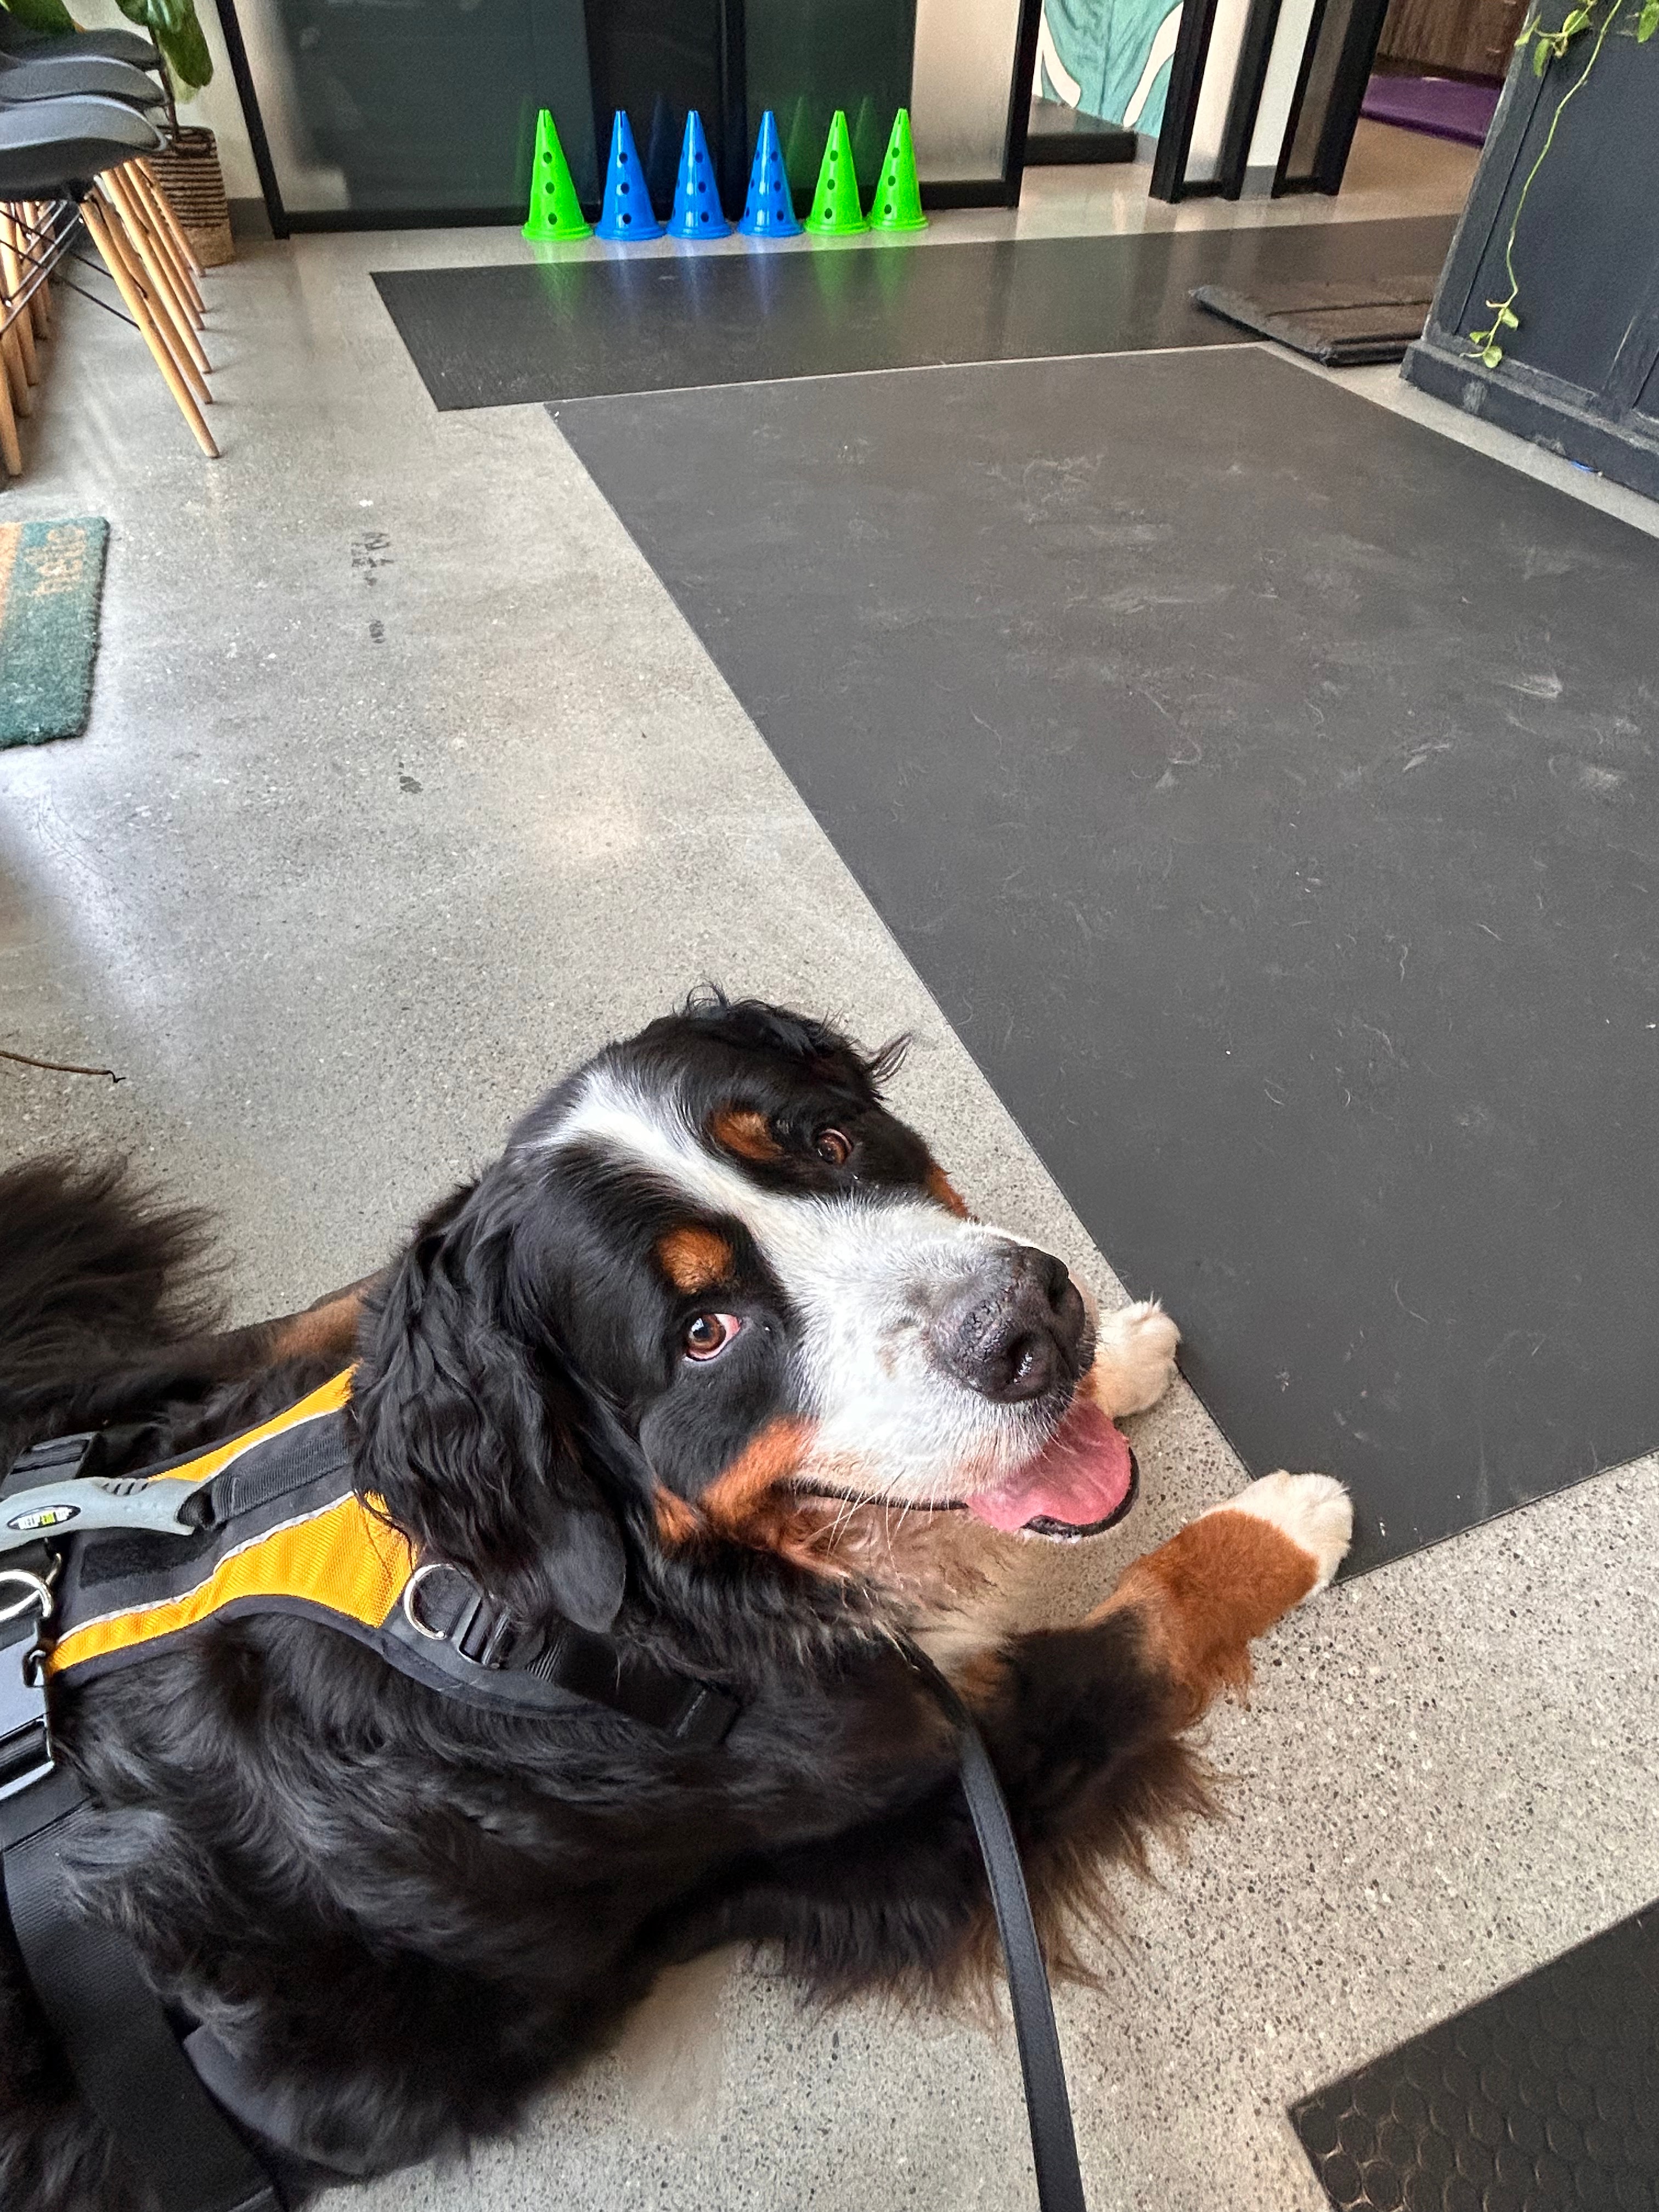
At our week 3 checkup, Benson still wasn’t doing as well as the surgeon thought he should be. She suspected potential infection and put him on a broad spectrum antibiotic.
By week 4 we had another checkup with the surgeon. We were set to head out on our annual road trip to Saskatchewan and I was anxious to hear what she would have to say. He still wasn’t walking as well as he should have been at that stage. Our surgeon decided to dig deeper and took some fluid from around the plate. And voila, an MRSP infection around the plate was now inhibiting his recovery.
The surgeon decided to put him on an antibiotic that would keep the infection “quiet” as she said but wouldn’t make it go away. Her hope was by keeping him on antibiotics for a prolonged period of time it would give him time to fight the infection. If not, his plate would need to come out once he was fully recovered. He was also put on another anti-inflammatory, Onsior, at this point. And his recovery actually started to progress!
But outside of rehabilitation, I still needed to keep Benson relatively quiet although we were able to start doing 5-minute walks!
First Month Red Flags
In the first month, there are times when it is crucial to call your surgeon. If your dog has a slip or fall or manages to jump up on furniture or tackle the stairs. Benson managed to break free from me in the first two weeks, ran upstairs and jumped on the bed which I told our surgeon about. But there didn’t appear to be any damage done, there was no clicking coming from his knee and his plate and screws were where they should be.
Another time to call your vet is early on if there are changes to the incision – if they swell or are hot to touch, if they break open or become gooey, bloody or have a discharge.
If there are changes to the way your dog is using their leg. So if they were using it and stop again, or their limp worsens. Or if you hear a clicking or popping sound when they move it which could indicate a meniscus tear.
Weeks 5-6
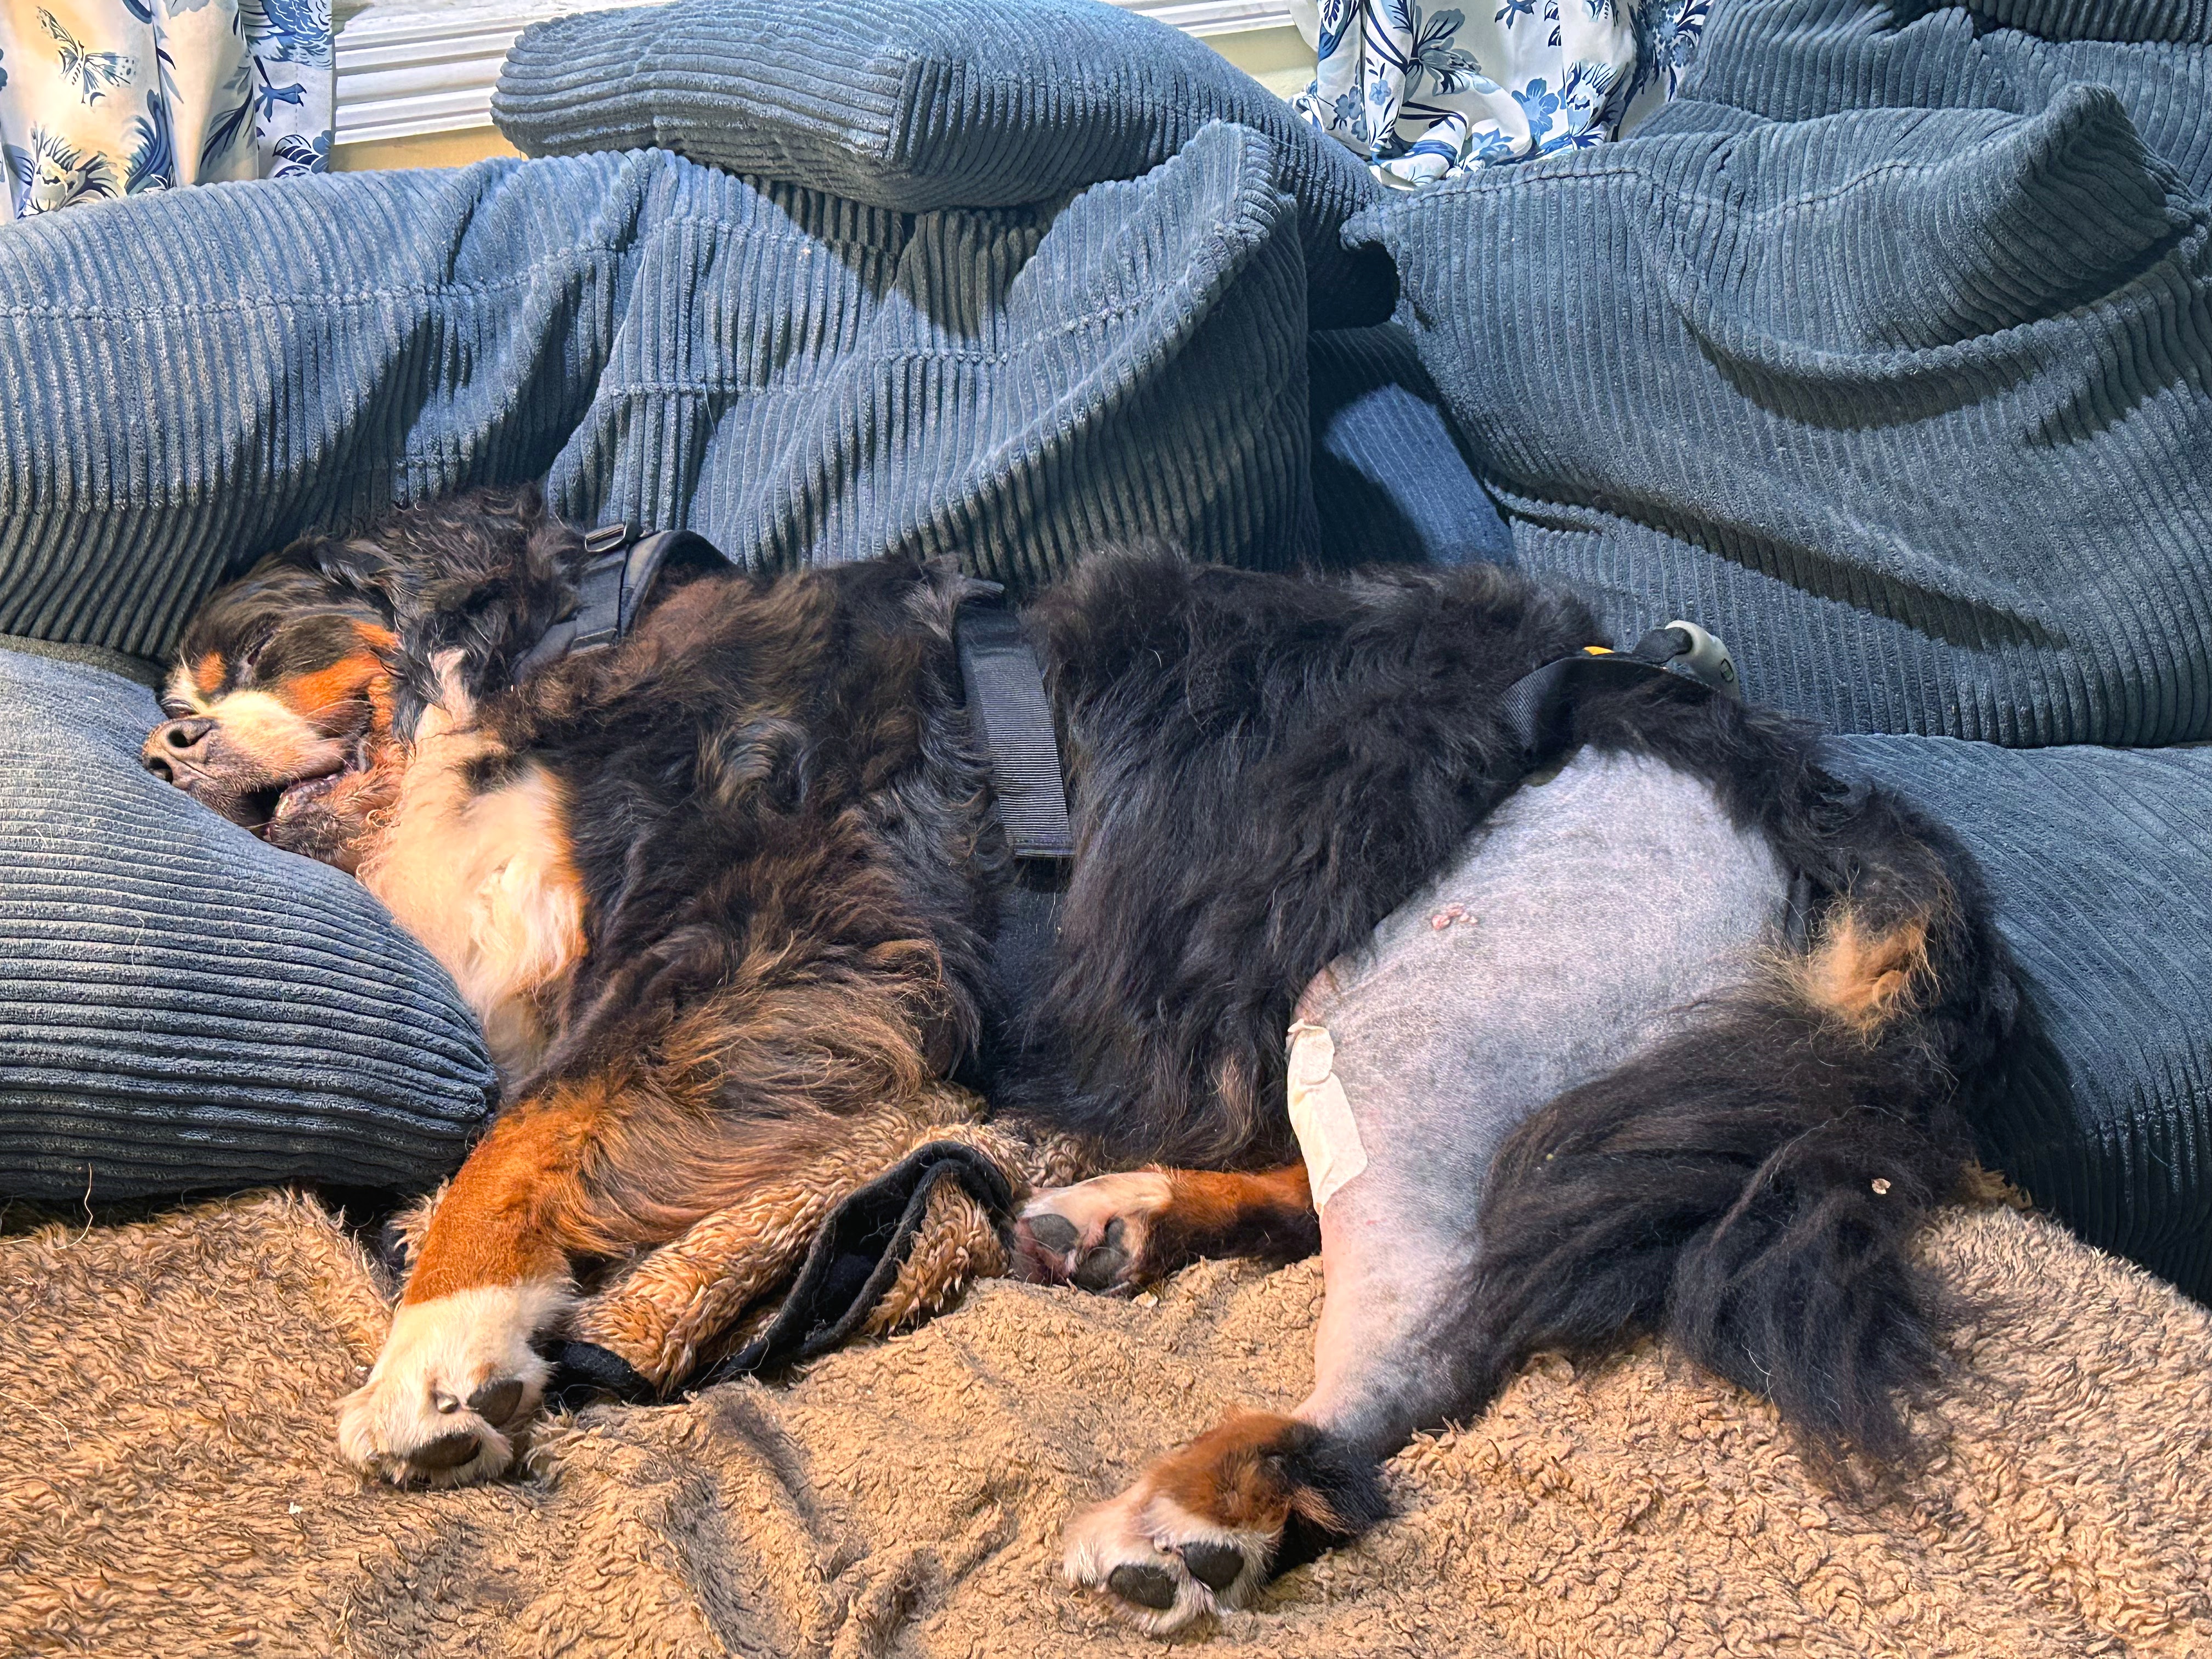
Your dog will be continuing to improve! But the bone is still not yet fully healed. And they have just spent a considerable amount of time with either restricted or limited activity, which results in muscle loss from atrophy.
We went to rehab twice a week at this point. My goal was to build the strength back up as quickly as possible, and as safely as we could. Particularly since up to 65% of dogs who have one TPLO end up needing a second on the other knee within one to two years of the first. And I was convinced that was not going to be us.
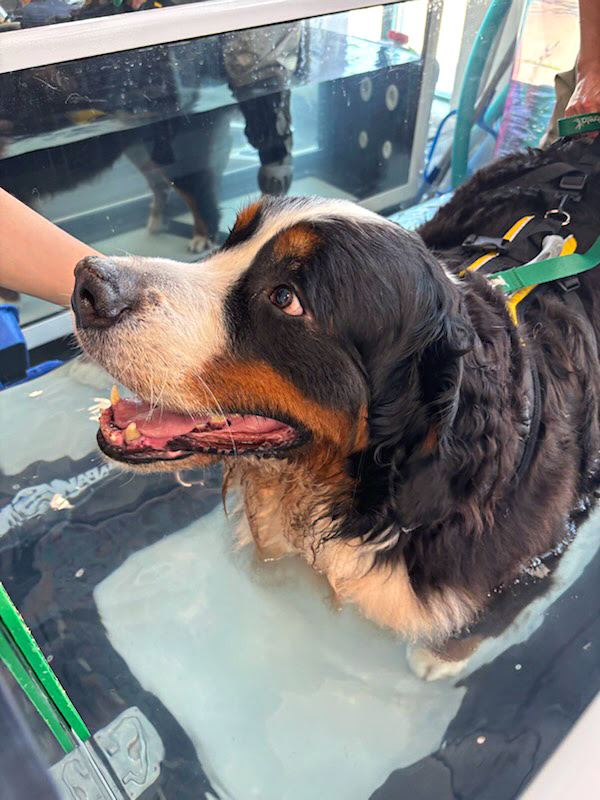
At his rehab, we were gradually building up his endurance using strengthening exercises and by slowly increasing the amount of time he was in the hydrotherapy tank. You may also be able to increase leash walks to 15-20 minutes.
Weeks 7-8
This is it, the home stretch, you’ve almost made it! Although walk times may be increased, off-leash running should still be avoided, as well as rough play and stairs.
Your dog may still have a slight limp but should be using their leg consistently. You may also be given the go-ahead for 20-30 minute walks.
At the two-month mark, we went in for another round of x-rays to see how Benson’s bone was healing. At this point, it was almost healed! So we could start walking more and doing more activities including finally, finally stairs! That first night when he was back in my bed was the absolutely best feeling.
Still no off-leash running yet, but we were cleared for the 20-30 minute walks. The surgeon was confident that at three months the bone would be fully healed and he could have full freedom again. We kept on at rehab to keep building his stamina back up since I had big goals to take him back to the dog park at the far end of the beach. But we did scale them back to once a week.
And we decided to wean him off the antibiotics for the MRSP infection at this point as well. If there were any issues and it flared back up, that would require another surgery to remove the plate. But thankfully it didn’t and another surgery wasn’t necessary.
Finally, We Made It
It was a long and difficult recovery but we made it. Unfortunately we didn’t make it back to that dog park though. We were still doing weekly rehab and working on his weight loss when something just felt off and we discovered he had cancer. I took him in for his last rehab appointment I had scheduled for him and broke the news and he just got to sit in a room and get love and be spoiled. Benson was euthanized two days after this appointment. You can read more on my struggle with grief following his passing HERE.
The key takeaways following TPLO surgery are to follow the surgeon’s post-operation care instructions as closely as you can. Get your dog into a good rehabilitation center. Use the cone. Get and use the harness.
🐾 Feeling Overwhelmed? I Made You a Shortcut
When Benson had his TPLO surgery, I wished someone would just hand me a simple plan instead of making me piece it together from a dozen vet handouts and late-night Google spirals. So I made one — the TPLO Recovery Survival Kit ($14.99 CAD).
Here’s what’s inside:
- 📋 Week-by-week recovery roadmap — so you always know what’s normal and what’s next
- ✅ First-48-hours checklist — the scariest part, made simple
- 🚩 Red flags guide — know exactly when to call your vet
- 🖨️ Printable daily trackers — for meds, icing, and leash walks
TPLO Recovery FAQs
How much does TPLO surgery cost?
In Canada, expect roughly $4,000–$7,000+ CAD, depending on the clinic, your dog’s size, and what’s bundled in (pre-op bloodwork, X-rays, overnight monitoring, recheck exams). In the US it’s typically $3,500–$7,000 USD. Giant breeds land at the top of the range — anesthesia, the plate, and every dose of everything are sized up. If you have pet insurance, get it before there’s a diagnosis on record.
Will my dog need the other knee done too?
There’s a real chance — studies suggest around half of dogs who tear one CCL go on to tear the other, often within a year or two. The same conformation and forces that tore the first ligament apply to the other leg, and then the “good” leg absorbs extra load all through recovery. It’s worth asking your surgeon about at your rechecks rather than being blindsided later.
TPLO vs. lateral suture vs. TTA — which is best?
For large and giant breeds, TPLO is generally considered the gold standard: it changes the biomechanics of the knee instead of trying to replicate the ligament. Lateral suture (the extracapsular “fishing line” repair) costs less and can work for small, calm dogs, but it stretches and fails more often in big, active ones. TTA is the other bone-cutting procedure and some surgeons prefer it for specific cases. Your surgeon’s recommendation beats internet opinions — but for a 100lb+ dog, TPLO is usually the answer.
Can a dog recover without surgery?
Some small, low-energy dogs can get by with strict rest, weight management, and rehab. For a large or giant breed, though, skipping surgery usually means a permanently gimpy leg and arthritis setting in fast. It was never a real option for Ben at 140lbs. If your vet is recommending surgery for a big dog, it’s because the alternative is a much worse outcome.
How long until my dog walks normally again?
Most dogs are toe-touching within a couple of weeks and walking reasonably by about 8 weeks — but “normal,” as in off-leash and being a dog again, is more like 12–16 weeks. The cruel part: they feel better long before the bone is healed, which is exactly when strict rest matters most.
What breeds are most likely to need TPLO?
Large and giant breeds top the list — Labradors, Rottweilers, Bernese Mountain Dogs, Newfoundlands, Boxers, German Shepherds. The common threads are size, weight, and conformation. Small dogs tear cruciates too, just less often.
I’m not a vet — this is our experience with Ben’s TPLO. Always follow your surgeon’s instructions.
